How to Plan a Trip to Japan: Step-by-Step Guide
Planning a trip to Japan becomes much easier ↗ when you make the big decisions before the small ones. Many first-time travelers do the opposite. They save restaurants, temples, neighborhoods, day trips, and train routes first, then try to fit everything into the number of days they actually have. That usually creates too many hotel changes, long travel days, and a schedule that looks good on paper but feels rushed once the trip begins.
When I plan a Japan trip, I start with four things: how many usable days I have, when I want to travel, how much I can spend, and which cities can realistically fit together. Flights, hotels, train passes, and daily activities come after that. This order helps reduce expensive changes later and keeps the trip focused on places you can actually enjoy.
This guide is for first-time travelers who want a clear planning process from the first idea to the point where flights and accommodation are ready to book. If you still need a broad overview of the country, start with Japan Travel Guide for First-Time Visitors. This article focuses only on building the trip itself.
Step 1: Work Out How Many Real Days You Have in Japan
Do not start by choosing cities.
Start with time.
A 10-night Japan trip does not always give you 10 full sightseeing days. Long international flights, immigration, airport transfers, hotel check-in, city transfers, and your departure day can remove a large part of your usable time.
I separate the trip into four types of days:
- ✓Arrival day
- ✓Full sightseeing days
- ✓City-transfer days
- ✓Departure day
For example, suppose you land in Tokyo late in the afternoon on Day 1 and leave Japan early on Day 11. That may look like a 10-day trip, but your actual full sightseeing time is closer to eight days.
This matters because eight full days and ten full days can support very different routes.
For a first trip, I would rather give Tokyo and Kyoto enough time than add Osaka, Hiroshima, Hakone, and Nara simply because they appear on popular Japan lists.
Before doing anything else, write down:
Total nights:Arrival day:
Departure day:
Number of full days:
Possible transfer days:
Once those numbers are clear, the rest of the trip becomes much easier to build.
If you need help deciding what different trip lengths can realistically cover, use How Many Days Do You Need in Japan?
Step 2: Choose Your Travel Dates Before Building the Route
Your dates affect almost every later decision.
Japan can feel very different depending on the season. Spring attracts travelers for cherry blossoms, summer brings heat and humidity across much of the country, autumn is popular for cooler weather and fall colors, and winter can range from relatively mild city conditions to deep snow in northern and mountain areas.
Do not choose dates based only on photos you have seen online.
Check:
- ✓Expected weather
- ✓Daylight
- ✓School and public holiday periods
- ✓Seasonal events
- ✓Your personal heat or cold tolerance
- ✓Accommodation demand
- ✓Flight prices
- ✓Activities you care about
I also suggest checking whether your dates overlap with periods when domestic travel demand can rise sharply. A trip can still work during a busy period, but you may need to reserve major parts earlier.
If your dates are flexible, compare at least two possible travel windows before booking flights.
For the full seasonal comparison, use Best Time to Visit Japan: Weather, Crowds and Costs ↗.
Step 3: Set a Total Budget Before Choosing Hotels
It is easy to overspend on a Japan trip because the costs arrive one decision at a time.
You book the flight.
Then you see a better hotel.
Then you add a long-distance train trip.
Then another city.
Then attraction tickets.
Then airport transport.
None of these choices may look expensive on its own, but together they can push the trip far beyond the amount you planned to spend.
I prefer to set a total trip ceiling first.
Break that budget into:
- ✓International flights
- ✓Accommodation
- ✓Travel between cities
- ✓Local transportation
- ✓Food
- ✓Attractions and experiences
- ✓Mobile data
- ✓Travel insurance
- ✓Shopping and personal spending
- ✓Emergency buffer
Do not worry about getting every figure exact at this stage.
The goal is to know whether you are planning:
a lower-cost trip, a mid-range trip, or a higher-cost trip.
That choice affects your hotels, number of cities, train use, dining plans, and daily activities.
One thing I would avoid is using another traveler’s daily spending figure as your entire budget. A traveler who stayed in one city for seven days cannot give you a useful cost estimate for a trip involving Tokyo, Kyoto, Osaka, and several long train rides.
Your route should create your budget, not the other way around.
The detailed breakdown belongs in Japan Trip Cost: Budget for 7, 10 and 14 Days.
Step 4: Check Passport, Entry, and Medication Rules Early
Do this before paying for bookings that are difficult to change.
Entry rules depend on your passport, purpose of travel, and length of stay. Do not rely on an old blog post, forum comment, or social media video for visa information.
Use Japan’s official government sources for the passport you will actually travel with.
The same rule applies to medication.
If you take prescription medicine, check whether Japan places any restrictions on the drug, ingredient, or amount you plan to carry. A medicine that is legal and commonly prescribed in your home country may still have different import rules in Japan.
I would check these items early:
- ✓Passport validity
- ✓Visa or visa-exemption status
- ✓Length of permitted stay
- ✓Medication restrictions
- ✓Required medication documents
- ✓Customs rules
- ✓Travel insurance needs
- ✓Airline entry requirements
Do not leave these checks until the week before departure.
Step 5: Choose Your Main Japan Bases
Now you can begin choosing destinations.
For most first-time travelers, Tokyo, Kyoto, and Osaka are the easiest places to start comparing because they are well connected and give very different experiences.
But you do not automatically need all three.
A useful starting structure is:
| Available Time | Main Bases to Consider |
|---|---|
| About 7 days | 2 bases |
| About 10 days | 2–3 bases |
| About 14 days | 3–4 bases |
| Around 3 weeks | More room for another region |
Think in bases, not individual attractions.
A base is a city where you stay for several nights. From there, you can explore the city itself and sometimes make day trips without changing hotels.
For example:
Tokyo can be your base for several Tokyo neighborhoods and selected nearby trips.
Kyoto can cover Kyoto itself and possibly a day trip such as Nara.
Osaka can work as a city stop or a base for other parts of Kansai.
Every new base creates extra work:
- ✓Packing
- ✓Hotel check-out
- ✓Reaching the station
- ✓Traveling with luggage
- ✓Finding the next hotel
- ✓Waiting for check-in
- ✓Unpacking again
That means adding another city should earn its place in the itinerary.
Before adding one, I ask:
Would I still visit this place if it required half a day of extra travel and another hotel change?
If the answer is no, I would usually remove it or treat it as a day trip.
Step 6: Put the Cities in a Logical Order
Once you have a short list of destinations, place them on a map.
The route should make geographic sense.
For example:
Tokyo → Kyoto → Osaka
moves naturally across the main first-time travel corridor.
A route such as:
Tokyo → Osaka → Tokyo → Kyoto → Tokyo
creates repeated travel unless there is a strong reason for it.
I check five things before accepting the route:
- ✓How many hotels will I use?
- ✓How many days involve long-distance travel?
- ✓Am I traveling back through the same area more than once?
- ✓Does my arrival airport fit the beginning of the route?
- ✓Does my departure airport fit the end?
This simple route check can remove hours of unnecessary transport before you spend any money.
Step 7: Compare Round-Trip and Multi-City Flights
Many first-time travelers automatically search for:
Home → Tokyo → Home
That may be the right option, but it should not be the only one you check.
If your route moves from Tokyo toward Kyoto and Osaka, also compare:
Home → Tokyo
then:
Osaka area → Home
This is often called a multi-city or open-jaw ticket.
For example:
Arrive Tokyo → Tokyo → Kyoto → Osaka → depart from Kansai
can remove the need to travel from Osaka back to Tokyo simply to catch your flight home.
Do not choose this setup only because it looks easier.
Compare:
- ✓Airfare
- ✓Train cost
- ✓Extra hotel nights
- ✓Airport transfer costs
- ✓Total travel time
- ✓Flight schedules
Sometimes the round-trip Tokyo flight still makes more sense. Sometimes the multi-city option saves enough time to justify a higher airfare.
The right answer depends on the whole trip.
Step 8: Book the Flight Only After the Route Passes This Check
Before clicking Book, stop and test the trip one more time.
Ask:
- ✓Do I have enough full days for these cities?
- ✓Am I changing hotels too often?
- ✓Does the route move in one sensible direction?
- ✓Have I counted arrival and departure properly?
- ✓Does my airport choice fit the route?
- ✓Does the trip still fit my budget?
If the answer to all six is yes, you now have a solid foundation.
Only after this point would I start locking in accommodation, intercity transport, and individual sightseeing days.
Step 9: Choose Hotels Around Your Route, Not Just the Price
Once the flights are fixed, accommodation is usually the next major booking.
For a first Japan trip, I would pay close attention to location and transport access. A hotel that costs less but adds a long train ride every morning and evening may not save you much in the end.
Before booking, check:
- ✓Walking distance to a useful station
- ✓Number of train changes to the areas you plan to visit
- ✓Airport access
- ✓Connection to your next city
- ✓Nearby food and convenience stores
- ✓Luggage storage before check-in or after check-out
- ✓Room size if you are carrying large bags
I also check the hotel on a map rather than trusting phrases such as near the station in a booking description.
For Tokyo, Kyoto, and Osaka, accommodation choices can affect the whole daily plan. Their dedicated Where to Stay guides cover the best areas in detail, so this article keeps the hotel decision focused on the planning process.
Step 10: Add Every Hotel-Change Day to Your Calendar
Before adding attractions, mark the days when you will move between cities.
This prevents a common planning mistake: treating a transfer day like a full sightseeing day.
A move from Tokyo to Kyoto may look simple when you only see the train time. In practice, the day can also include:
- ✓Packing
- ✓Checking out
- ✓Getting to the correct station
- ✓Finding the platform
- ✓Waiting for the train
- ✓Traveling
- ✓Reaching the new hotel
- ✓Leaving or collecting luggage
- ✓Checking in
You may still have several useful hours afterward, but I would not build that day around a long list of timed activities.
Keep transfer days lighter and place anything important on a full day when possible.
Step 11: Work Out Intercity Transportation
Now decide how you will travel between your main bases.
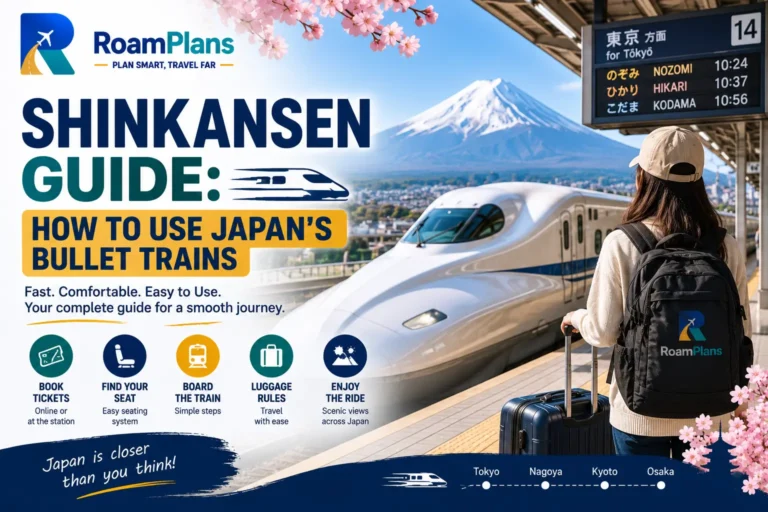
For the classic Tokyo, Kyoto, and Osaka route, rail will often play a large role. Other Japan routes may also use domestic flights, buses, ferries, rental cars, or combinations of several options.
At this stage, you only need to answer:
How will I get from one base to the next, and roughly how much time will it take?
Do not spend hours trying to learn every Japanese transport system at once.
Use How to Get Around Japan: Transportation Guide for the broad comparison and Japan Train Travel Guide for First-Time Visitors when planning rail journeys.
Step 12: Decide Whether You Need a JR Pass
Do not make the JR Pass one of your first purchases.
I would first list every long-distance rail journey I expect to take and compare the cost of those journeys with the current pass price and conditions.
Your decision should come from your route.
For example, two travelers can both spend 10 days in Japan but have completely different rail costs because one stays mainly in Tokyo and Kyoto while the other covers several distant cities.
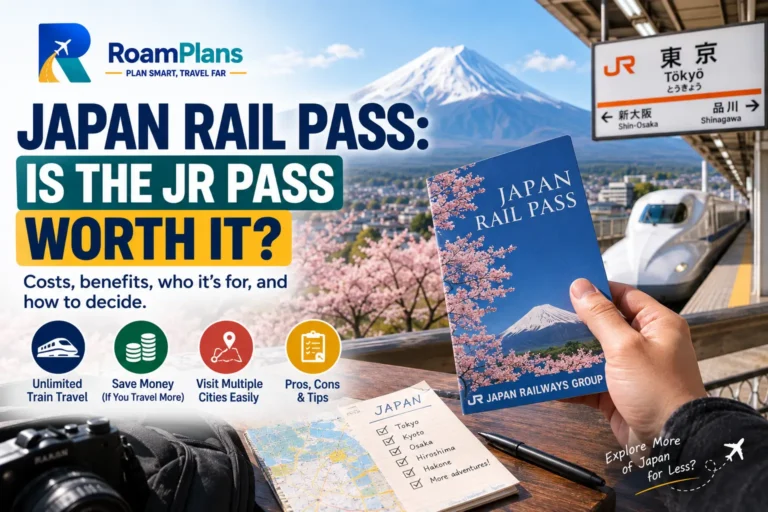
That is why the full decision belongs in Japan Rail Pass: Is the JR Pass Worth It?
Step 13: Plan What Happens to Your Luggage
Luggage is easy to ignore while planning from home, but it affects city-transfer days.
Ask yourself:
- ✓Can I comfortably move this suitcase through stations?
- ✓Does my hotel offer luggage storage?
- ✓Will I need to store bags before check-in?
- ✓Would forwarding a large bag make one part of the route easier?
- ✓Do any train journeys require advance arrangements for oversized luggage?
Japan has baggage delivery services that can be useful between supported hotels and other locations.
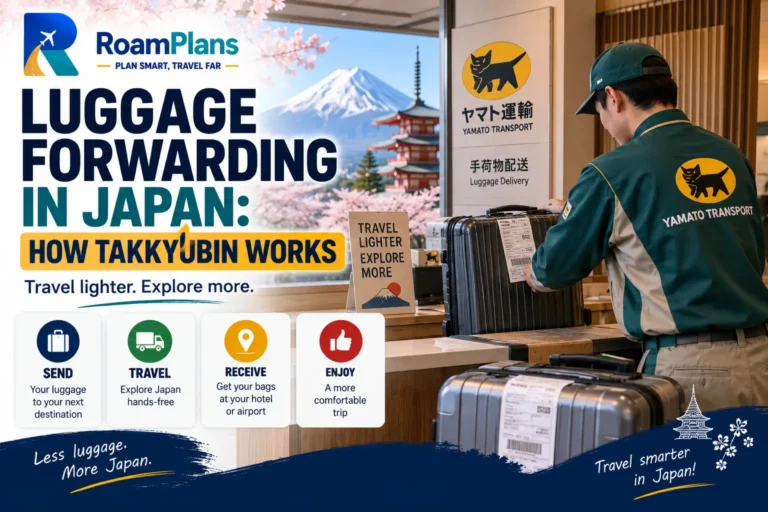
For the full process, use Luggage Forwarding in Japan: How Takkyubin Works.
The main planning lesson is simple: decide what happens to your bags before the morning you change cities.
Step 14: Build Each Sightseeing Day by Area
Now you can start planning what you will actually do.
This is where I avoid creating a list based only on attraction popularity.
Instead, save the places you want to visit on a map and group nearby locations together.
Suppose your Tokyo list includes several places around Shibuya and Shinjuku, plus others around Asakusa and Ueno. I would usually split those areas across separate days instead of traveling from one side of Tokyo to the other several times.
Use the same method in Kyoto and Osaka.
Before finalizing a day, check:
- ✓Where the places are located
- ✓Their opening hours
- ✓How you will move between them
- ✓How much walking the day requires
- ✓Whether any stop needs a reservation
A shorter list of well-grouped places often produces a better day than a long list spread across the city.
Step 15: Use a Priority System for Activities
Not every saved attraction should become a required stop.
I separate activities into three groups.
Must Do
These are the places or experiences that matter most to you.
Keep this list small.
Would Like to Do
These are good additions when the day is going well.
Optional
These are nearby alternatives for extra time, bad weather, or a change of plans.
This system gives you flexibility without arriving in Japan with no plan at all.
It also helps when you find something interesting after arrival. You can replace an optional activity without feeling that you ruined the itinerary.
Step 16: Check the Physical Load of Each Day
Travel planning is not only about whether something fits into the clock.
It also needs to fit your energy.
Japan city trips can involve a lot of walking. Train stations can be large, temples may have stairs, and shopping or sightseeing areas can keep you on your feet for hours.
If one day already includes heavy walking, I would avoid placing another demanding day directly after it unless that pace suits you.
Look for signs that a day may be overloaded:
- ✓Several distant neighborhoods
- ✓Many train transfers
- ✓A long day trip
- ✓Early start and late finish
- ✓Large temple or park areas
- ✓Lots of standing
- ✓No clear meal or rest time
Your itinerary should still work when you are tired, not just when you read it at home.
Step 17: Decide Which Activities Need Advance Booking
Some Japan experiences may need early reservations, while many others do not.
I would divide them into two groups.
Book in Advance
Consider advance booking for an experience that:
- ✓Has limited capacity
- ✓Uses timed entry
- ✓Matters a lot to your trip
- ✓Is known to sell out for your dates
- ✓Has an official reservation window
Keep Flexible
Many neighborhoods, shopping areas, parks, casual restaurants, and general city walks can remain open in your schedule.
Do not reserve something simply because a booking button exists.
Too many timed reservations can make the trip feel rigid.
For anything important, check the official website for your travel dates because booking windows and rules can change.
Step 18: Leave Your Arrival Day Light
I would keep the first day simple, especially after a long flight.
Even if the flight arrives on time, you may still need to handle immigration, baggage, customs, airport transport, your hotel, food, and jet lag.
A good arrival plan can be as simple as:
- ✓Reach the hotel
- ✓Drop off or unpack your bags
- ✓Learn the nearest station
- ✓Walk around the neighborhood
- ✓Buy anything you need
- ✓Have an easy meal
- ✓Rest
Avoid placing an expensive or hard-to-rebook activity on arrival day unless your flight schedule gives you plenty of safe extra time.
Starting slowly can make the next full day much better.
Step 19: Prepare Your Phone Before Departure
Your phone can become one of your main Japan planning tools after arrival.
You may use it for:
- ✓Maps
- ✓Train routes
- ✓Translation
- ✓Hotel addresses
- ✓Weather
- ✓Tickets
- ✓Reservations
- ✓Currency checks
- ✓Messaging
Decide before the trip whether you will use an eSIM, physical SIM, roaming plan, or pocket Wi-Fi.
I also save key information offline, including:
- ✓Hotel names and addresses
- ✓Flight details
- ✓Major train information
- ✓Important reservations
- ✓Passport copy
- ✓Insurance details
That way, a weak connection or phone-service problem does not stop the trip.
Step 20: Prepare More Than One Payment Option
Do not depend on one bank card for the whole trip.
I would carry:
- ✓One main payment card
- ✓One backup card stored separately
- ✓Some Japanese yen
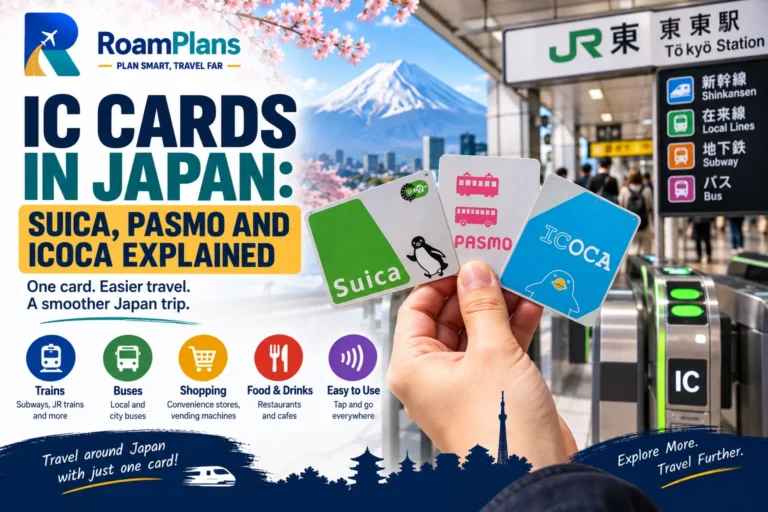
- ✓A suitable IC card once in Japan, where useful
Before traveling, also check your bank’s overseas transaction settings and any foreign transaction fees.
A backup payment method is easy to arrange at home and much harder to solve after a card stops working abroad.
Step 21: Add One Flexible Block to Each City
Before you finish the daily schedule, leave some space.
This could be:
- ✓A free evening
- ✓A slower morning
- ✓Half a day without fixed attractions
- ✓An optional activity that can easily be removed
That space can absorb bad weather, tiredness, shopping, a missed train, a longer meal, or a place you discover after arriving.
I would rather return home having missed one optional attraction than spend the whole trip trying to catch up with an overloaded itinerary.
Step 22: Build a Simple Booking Timeline
You do not need to book every part of a Japan trip at the same time.
I prefer to divide planning into stages.
As Soon as Your Dates Are Clear
Focus on:
- ✓Passport and entry checks
- ✓Trip length
- ✓Main route
- ✓Flight comparison
- ✓Total budget
After Flights Are Booked
Move to:
- ✓Main accommodation
- ✓Airport transfers
- ✓Intercity travel planning
- ✓High-priority activities
Closer to Departure
Finish:
- ✓Daily area plans
- ✓Internet setup
- ✓Payment preparation
- ✓Travel documents
- ✓Weather checks
- ✓Packing
- ✓Final reservations
This order keeps you from spending time on small details before the main trip structure is fixed.
Step 23: Check Your Route Against Your Budget Again
Once flights, hotels, and transport are clearer, return to the budget you created at the beginning.
Your first estimate may have changed.
You may have found:
- ✓Higher hotel prices than expected
- ✓More expensive flights
- ✓Extra train journeys
- ✓Paid experiences
- ✓Airport transfers
- ✓Additional nights
If the total is too high, I would first simplify the route before cutting every small daily expense.
Removing one unnecessary hotel change or long-distance side trip can save more than trying to reduce every meal budget.
Step 24: Prepare for Weather Changes
A good Japan itinerary should survive a bad-weather day.
Do not place every outdoor activity into fixed time slots with no alternatives.
For each city, keep a few flexible options such as:
- ✓Museums
- ✓Shopping areas
- ✓Covered markets
- ✓Cafes
- ✓Indoor attractions
- ✓Flexible neighborhood time
If an outdoor day depends heavily on clear weather, identify another day when you could move it.
This matters more than trying to predict the weather perfectly weeks before travel.
Step 25: Check Your Important Reservations One More Time
Before departure, review everything that could affect the trip if it is wrong.
Check:
- ✓Flight dates
- ✓Passenger names
- ✓Airport names
- ✓Hotel dates
- ✓Number of guests
- ✓Cancellation terms
- ✓Train reservations
- ✓Attraction dates
- ✓Meeting points
- ✓Time zones
- ✓Airport transfer details
One wrong date can create a much bigger problem than a missing attraction from your itinerary.
I also save confirmation numbers somewhere outside my email inbox.
Step 26: Prepare a Small Offline Travel Folder
Do not keep every important detail inside one app.
I would save or download:
- ✓Passport copy
- ✓Flight confirmations
- ✓Hotel confirmations
- ✓Travel insurance
- ✓Emergency contacts
- ✓Medication documents if needed
- ✓Important tickets
- ✓First hotel address
- ✓Main route
- ✓Backup payment information
You can keep these in an offline folder on your phone and also have selected details available on paper if that makes you more comfortable.
The goal is simple: losing internet access should not leave you unable to reach your hotel or prove a booking.
Step 27: Check Arrival Procedures Before You Fly
Japan’s Digital Agency operates Visit Japan Web, which travelers can use for procedures connected with immigration and customs. Check the official service before departure because the process can change.
Do not complete arrival preparation based on an old screenshot or tutorial.
Use current official instructions and keep your first accommodation details easy to access.
Step 28: Review Your First 48 Hours
The first two days deserve special attention because they set the pace for the trip.
I would check:
Arrival Day
Keep it light.
First Full Day
Use an area that is easy to reach from your hotel.
Second Full Day
Add a more ambitious sightseeing plan once you have adjusted to local transport and sleep.
This is especially useful for travelers arriving from the United States because jet lag can affect energy and concentration.
Avoid building the most difficult day of the trip immediately after landing.
Step 29: Check Whether You Have Too Many Reservations
Look through the itinerary and count how many things require you to be somewhere at a fixed time.
If almost every morning, afternoon, and evening has a reservation, the trip may be too rigid.
I would keep fixed bookings mainly for experiences that truly need them.
Everything else can stay flexible enough for:
- ✓Late trains
- ✓Weather
- ✓Longer meals
- ✓Shopping
- ✓Tiredness
- ✓Unexpected discoveries
A good itinerary should still work when one thing changes.
Step 30: Run a Final Japan Trip Sanity Check
Before calling the plan finished, ask yourself:
- ✓Do I have too many cities?
- ✓Am I changing hotels too often?
- ✓Have I counted arrival and departure days properly?
- ✓Does the route move in a sensible direction?
- ✓Have I added unnecessary backtracking?
- ✓Are transfer days too busy?
- ✓Are nearby attractions grouped together?
- ✓Have I left enough free time?
- ✓Does the budget still work?
- ✓Do I have backup payment options?
- ✓Have I checked official entry rules?
- ✓Do I know what happens to my luggage on transfer days?
- ✓Have I saved key documents offline?
- ✓Do I have a bad-weather backup?
If several answers reveal problems, fix those before adding more activities.
Common Japan Trip Planning Mistakes
Even a well-researched trip can become difficult if the planning order is wrong.
Trying to Visit Too Many Cities
This is the biggest problem I see in first-time plans.
Each new city adds transport, luggage, hotel changes, and planning work.
Booking Hotels Before Building the Route
A good hotel can become a bad booking if it sits in the wrong part of the trip.
Buying a Rail Pass Before Pricing the Route
Build the journey first. Buy transport products after.
Treating Transfer Days Like Full Days
Moving cities uses more time than the train journey alone.
Planning Attractions Before Checking Their Location
Famous places can be far apart.
Group each day by area.
Booking Every Meal and Activity
Too many fixed bookings remove flexibility.
Ignoring Jet Lag
Your first two days may not feel like normal sightseeing days.
Forgetting Backup Plans
Weather, closures, delays, or tiredness can change a day.
For a deeper list, use Japan Travel Mistakes First-Time Visitors Should Avoid ↗.
How RoamPlans Can Help You Build the Trip
Once the main route is ready, you can use the RoamPlans tools to turn your planning decisions into a practical trip.
Travel Itinerary Builder
Use it after choosing your cities and transfer days to organize the daily structure.
Trip Cost Estimator
Use it to test whether flights, hotels, transport, food, and activities fit your total budget.
Packing List Generator
Use it once your season, cities, and trip length are fixed.
Weather Planner
Use it closer to departure to compare expected conditions across your planned destinations.
The tools work best after you make the main decisions yourself. They should support the trip plan, not replace it.
Frequently Asked Questions
Start planning once your likely dates are clear. Flights, popular hotels, and limited-capacity experiences may need earlier attention during busy periods.
Start with your real number of travel days, travel dates, budget, and main route. Flights, hotels, and daily activities should come after that.
For about a week, two main bases are usually easier. A 10- to 14-day trip gives you more room for three or four bases without spending too much time changing hotels.
Create a rough route first. Once you know where the trip should begin and end, compare round-trip and multi-city flight options.
For most first-time multi-city trips, I would book the main accommodation before departure. This gives the route structure and avoids wasting time looking for rooms during the trip.
Plan the structure, not every minute. Choose your main priorities, group them by area, and leave some time open for changes.
No. Many first-time travelers can plan Japan independently if they make the major decisions in a sensible order and use official sources for changing rules.
It can be a good option if your route moves from Tokyo through Kyoto to Osaka. Compare the total airfare, rail cost, and time before deciding.
No. Finalize the route first, then compare the cost of your planned rail journeys with the current pass price.
Trying to fit too many destinations into too few days. A smaller route usually gives you more useful time and fewer stressful transfer days.
Final Thoughts
In short, Planning Japan becomes much easier when you make decisions in the right order. Start with your real travel days, dates, budget, and route. Then book flights and accommodation, work out transport, group daily activities by area, and leave enough flexible time for normal travel changes. A good first Japan trip should feel organized without feeling controlled by the itinerary.

Adnan Ahmed
RoamPlans AuthorTravel Planning Researcher & Editor
Adnan Ahmed is the travel planning researcher and editor behind RoamPlans. He creates clear, practical guides to help travelers compare destinations, plan routes, estimate costs, and avoid common trip-planning mistakes. His work combines careful source research, official travel information, and regular content reviews to keep each guide useful and current.
- ✓Destination Research
- ✓Budget Planning
- ✓Route Planning
- ✓Beginner Travel Guides

Turn This Guide into a Practical Trip Plan
Use the recommended Free Travel Itinerary Builder or explore more free RoamPlans tools.